How to Lay a Concrete Floor With Insulation
Before you lay your concrete floor with insulation, you’ll need to consider a few things, the first of which will be your building regulations. Your floor will need to be structurally sound; this means it must be able to support the contents of the room and the weight of the floor itself. Additionally, ground-floor rooms need to be resistant to moisture and heat loss.
Laying a concrete floor is also a very labour-intensive task and cannot be performed alone, so ensure you have a few hands to help you before you begin the steps below.
6 Step Process to Lay a Concrete Floor With Insulation
Below, we have outlined our 6-step process for installing insulation in your concrete floor:
1. Compacting your hard flooring
The vast majority of flooring in houses is hardcore (also known as a type 1 floor seal). So, assuming this is the case, your floor must be properly compressed before the real work starts.
2. Sand blinding
Assuming hardcore has been used, the next step is sand blinding (you will need building sand for this step). Your building sand will need to be poured into the same area where the slab is being poured before it’s levelled.
Once this has been done, a laser level can be used to ensure correct levelling is achieved. The sand will help fill any bumps, and you can expect to achieve a 50mm thickness once the sand has been levelled and compacted down.
3. Laying the damp-proof membrane
The next step is laying the damp-proof membrane down. The thickness of DPMs vary, but aim for something with around 1,100 – 1,300 gauge (this is the most common). You may want to cover the whole area with one large sheet, as it’s easier.
However, if this isn’t possible (cases where more than one sheet is required), make sure that the joins overlap by a minimum of 150 mm to ensure no moisture can seep through the gaps in the concrete slabs. The edges of the DPM will wrap up, around and over the brick walls, eventually leaving them sitting underneath the next course of bricks.
4. Concreting
If you’re looking to install insulation boards, this is also covered in this step.
If your extension is fairly small, it might be worth considering pouring (barrowing) it in yourself, as it is mixed. Be warned, this is a labour-intensive task and will take longer. If you’d prefer not to do this, you may want to consider having your concrete poured directly from the lorry.
If you’ve got some cash to spare, by far the easiest option is to have ready-mixed concrete brought in and pumped directly into the flooring, 100-130mm is standard. You must wait at least three to four days for it to cure to ensure the temperature and moisture conditions in your concrete are satisfactory. If this is done correctly, the curing will promote good concrete mixture development.
Incorrect curing can lead to chemical attacks and freeze-thaw, both of which will impact the appearance and structural integrity of the completed concrete.
5. Reinforcing concrete
Reinforcement is required when you’re concreting areas that will be subjected to heavy loads, such as garages and car parks. For this, a metal mesh standing with plastic pillars (feet) will be laid before the concrete is poured.
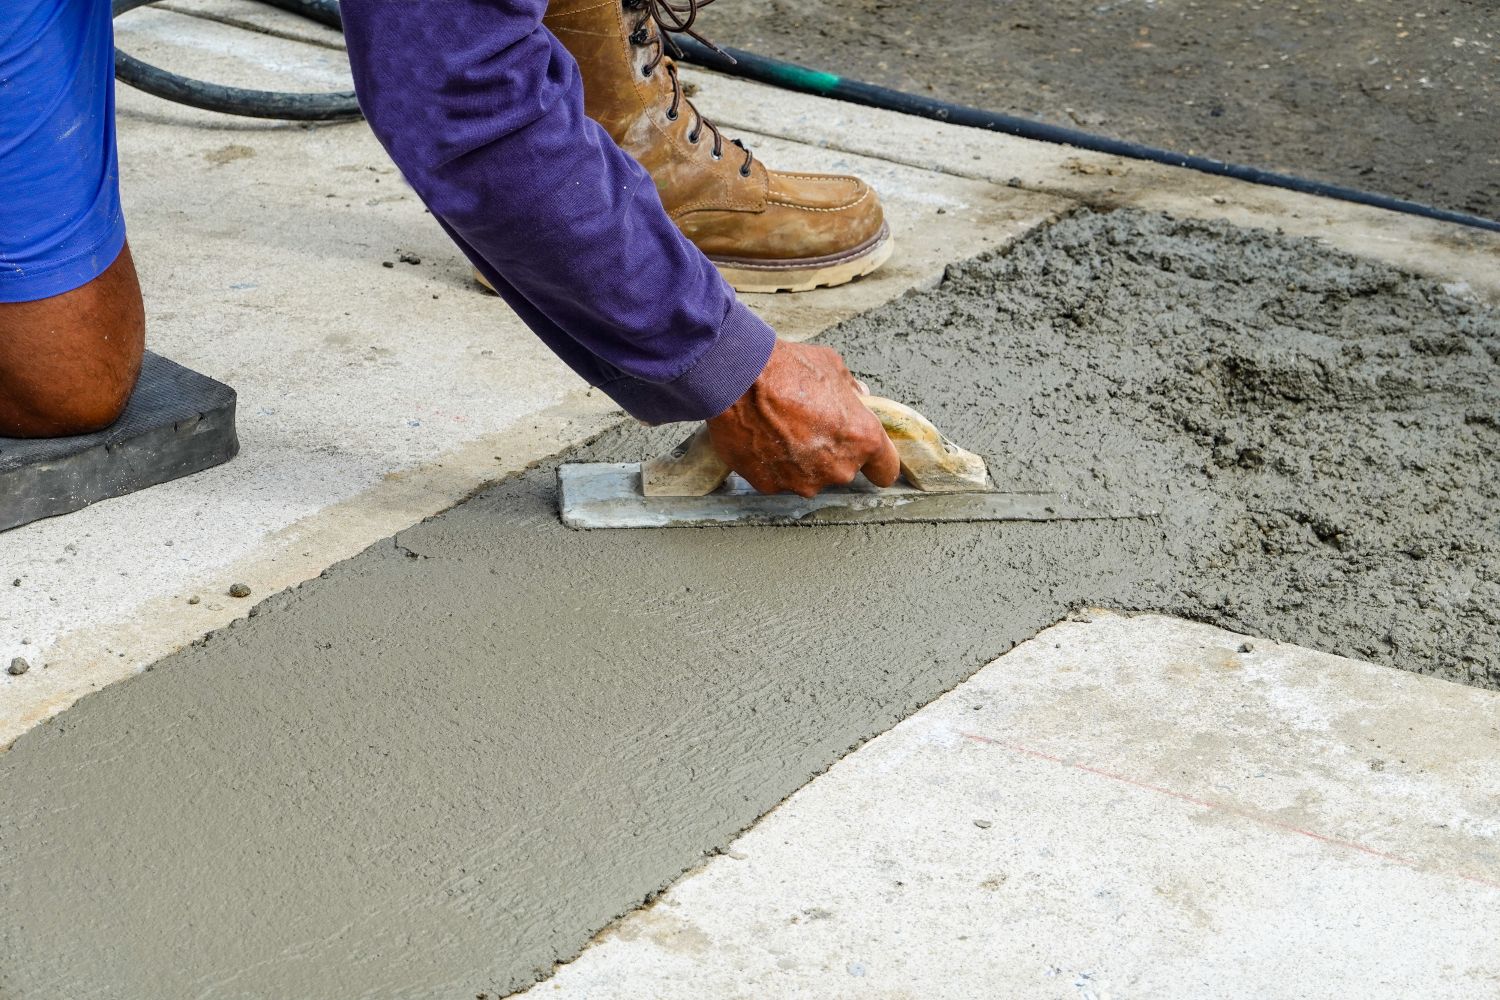
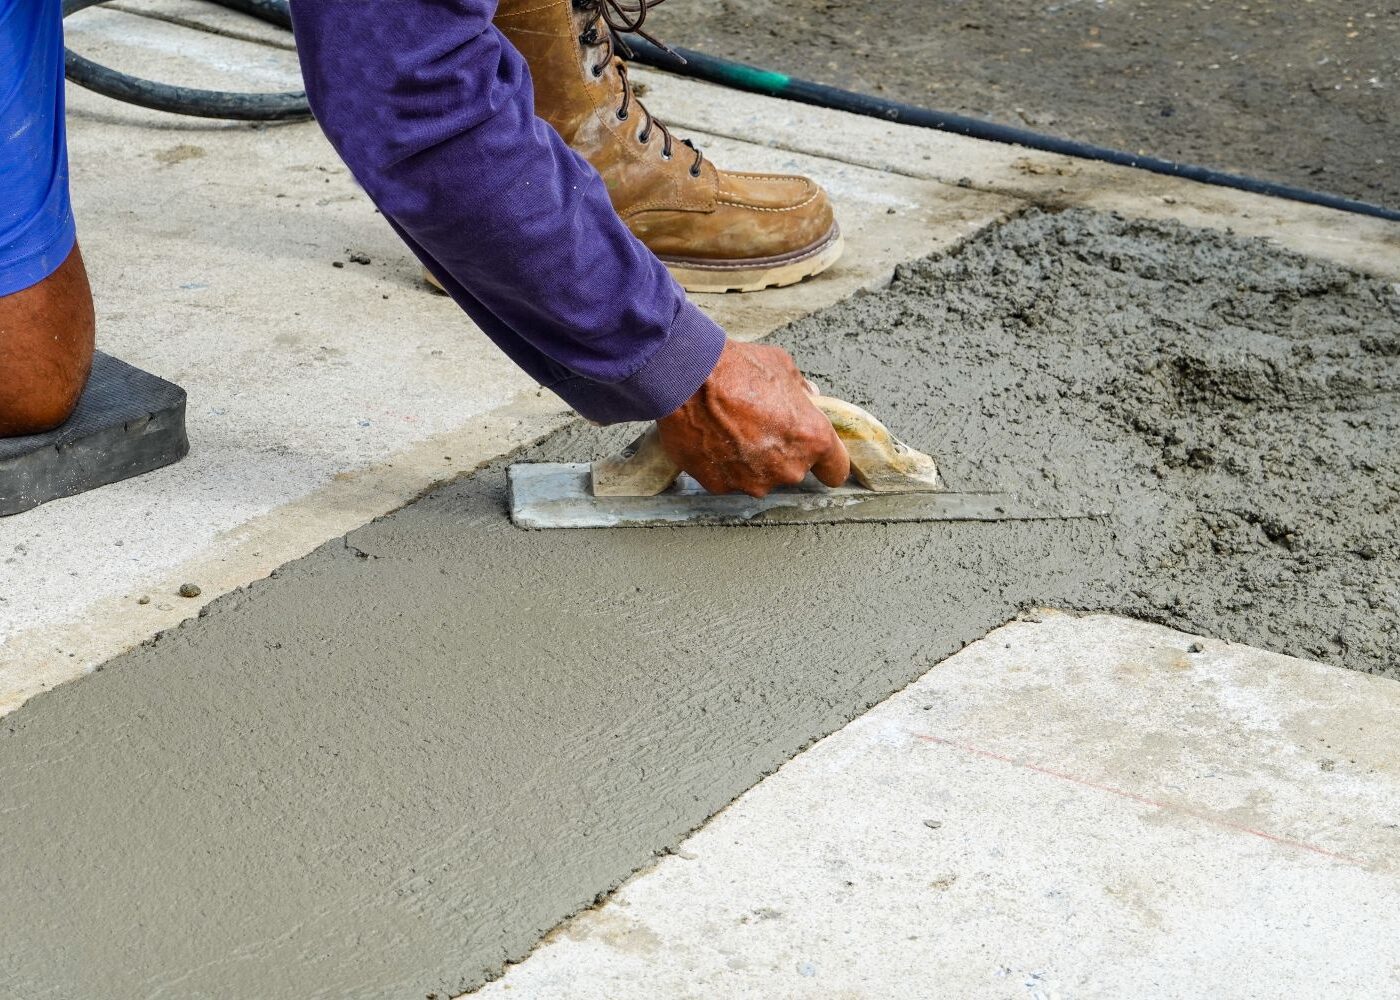
6. Levelling and insulation
Once levelling has been completed and has been left to set, only then can your insulation go down.
If your floor is being excavated and replaced, you will be able to further improve your insulation. A U-value of o.2W/m2k is possible to achieve for most semi-detached properties using around 100mm of air-based insulation and perseverance.
Additionally, insulation can be installed over the existing concrete slab or a new one, depending on your preference.
6a. Insulating above concrete
If you’re placing the insulation above the slab, the main benefit is that the room will heat up faster, while also cooling faster. This applies to all internal insulation.
This type of insulation will also impact floor levelling, which means you will have to take door openings and staircases into consideration. Phenolic foam is a popular choice to get around this issue, as it’s able to achieve strong levels of insulation for less depth.
If this is the situation you find yourself in, the DPM will sit above the concrete, and your moisture-resistant chipboard will go on top, beneath the flooring surface. Concrete does expand, so leave some room around the edges.
6b. Below the concrete slab
Insulation below the slab is more common and arguably better as the slabs help to absorb the heat, meaning overheating is less likely.
The DPM is placed over a layer of sand to protect it from the sharp concrete stones (otherwise, you risk puncturing the insulation). The DPM also acts as an airtight complex, hugging the sides of walls and joining to the plaster and plasterboard.
Insulation goes on top of the DPM and around the edges. Next, the concrete is poured. If underfloor heating is used, it’s fixed to the top of the concrete mix and then covered once more in a thin layer on top.
Your floor covering (if you choose to have one) can be floorboards or tiles, depending on your preference. Timber, on the other hand, should be left in the room for a few weeks with the heating on to ensure it doesn’t warp when it’s applied.

When DIY Isn’t the Answer
Laying a concrete floor with insulation is no easy task, and adding insulation and underfloor heating can sometimes be too much hassle for many DIYers. If you’re strapped for time or aren’t confident in buying the right materials and completing the task by yourself, that’s where we come in.
For all your concrete flooring inquiries, our team is here to help. We have over 35 years of experience in the concrete industry and are Constructionline Gold Members. Call us today for more information, to start discussing your project at greater length, or to get a quote for what you might need.