Our Expert Guide to Concrete Pouring

We are often asked whether pouring concrete is a job that must be completed by a professional, and the techniques involved for an even, solid pour. While there are considerations to take during concrete pouring, it is possible for non-professionals to pour their own. With the correct preparation and technique, a poured concrete floor can be achieved quite simply.
Poured concrete is an excellent flooring material for a variety of situations including patios, concrete floors, driveways, paths and concrete slabs or blocks. There is a range of different concrete finishes and project types. While small-scale projects can be a simple and cost-effective feat to carry out first-hand, our team of professionals are more than happy to help when it comes to larger coverage.
How to Pour Concrete

Pouring concrete can be a challenging job as every concrete pour is different in terms of shape, colour, finish and complexity. Preparation is the key to success in any form of construction regardless of the project, and will greatly impact the outcome of your final concrete pour.
We have compiled a step-by-step guide from preparing to curing in order to help you correctly pour your own concrete.
1. Prepare the area
Make sure you prepare the area of your concrete. If you need to dig a trench, make sure that it has been completed beforehand, laying a mould or preparing another area to pour the concrete. You’ll also need to ensure that the area is free of any debris and that only soil is visible.
Layer a subbase of your choice, such as gravel or sand, which will sit below the concrete and at roughly 4 inches. You’ll then need to rigorously compact your subbase. Place your form using wooden planks or a wire mesh, whichever is more suitable for your concrete project.
2. Mix and pour your concrete
Getting the mix right is an absolutely crucial aspect of long-term concrete performance. The typical process is to use 1 part cement, 2 parts sand and 4 parts gravel and mix together with water. The volume of water necessary will depend on the volume of the concrete mixture.
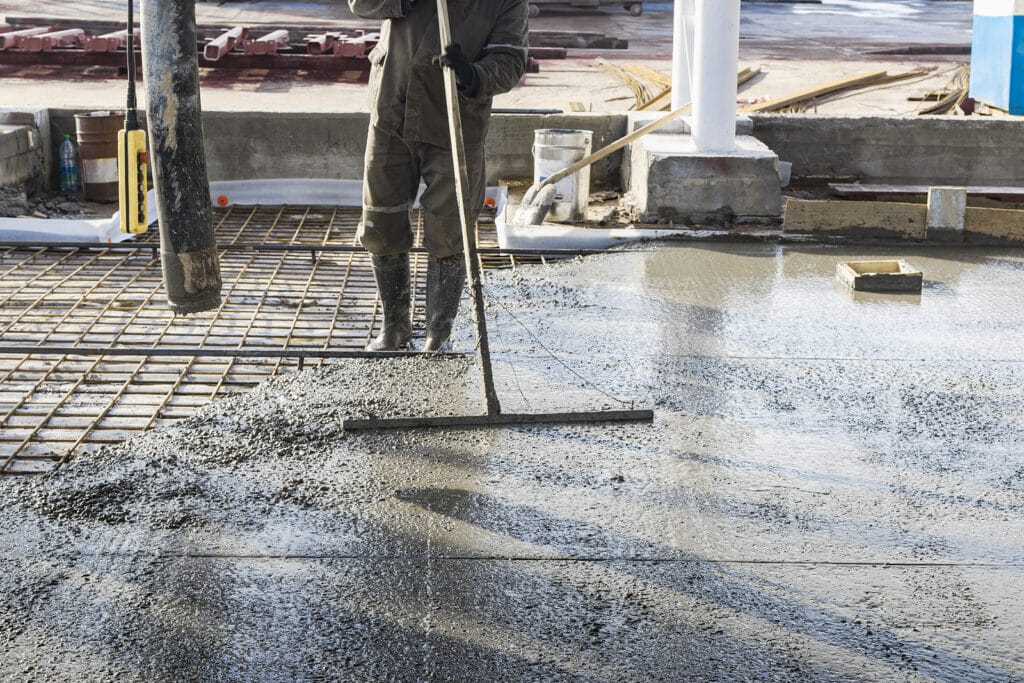
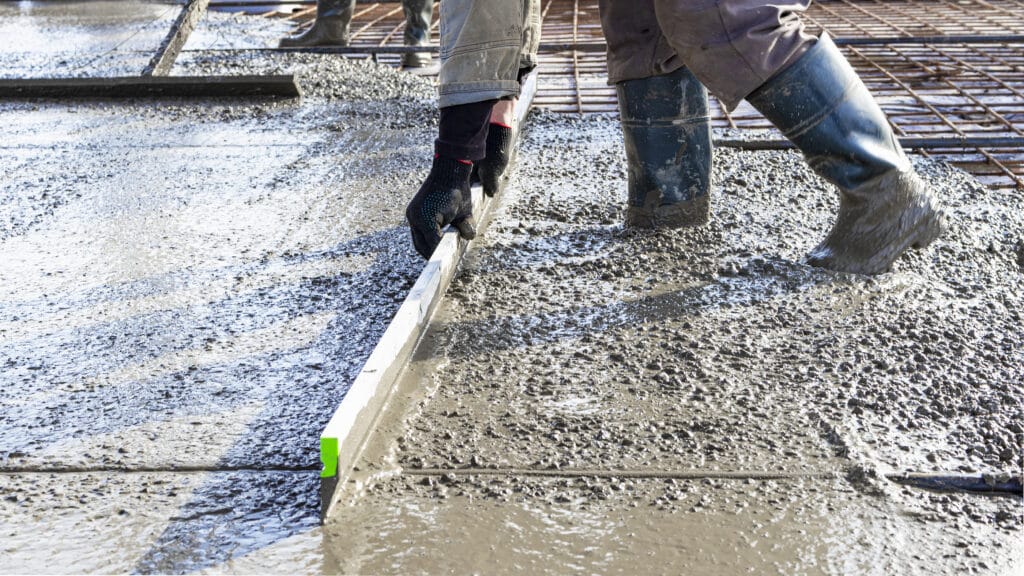
Once your concrete is mixed, tip your mix from your wheelbarrow, truck or mixer to the high level of the form, evening out the mixture with a spade to ensure a consistent spread. The concrete will then need to be levelled for an even surface. A bull float is necessary to compact the poured concrete across the surface.
3. Finishing your poured concrete
After compacting your concrete, you can remove excess water, using a hand float to smooth the surface more. Use a groover to create control joints across the concrete every 5 feet; these will make the concrete more resistant to cracks.
Depending on the finish that you require, you can brush the surface with a broom to give the concrete a finishing texture and prevent a slippery surface.
4. Sealing your poured concrete
The final step for your poured concrete flooring is to seal the concrete. Using a concrete sealer, you can cure the concrete slowly and evenly which will help reduce cracks, discolouring and curling. You can start to use your poured concrete surface for light foot traffic 3 to 4 days after placement, and you can drive or park on your concrete 5 to 7 days after placement.
Can You Pour Concrete in the Rain?
One of the most commonly asked questions when it comes to pouring concrete is whether you can pour concrete in wet weather. It is possible to pour concrete in the rain, but it should be avoided where possible.
Rain presents challenges and heavy rain in particular can cause trouble to freshly poured concrete, as it can wash out some of the cement from the mix which can subsequently weaken the surface of the concrete, making it softer.
The following precautions can be taken if you are planning to lay concrete in the rain:
- Check the weather conditions
- Tarpaulin or waterproof the area
- Push any surface water off the concrete
- Allow a longer drying time
Pouring concrete in low-temperature weather can cause the concrete to freeze, creating a cracked or uneven surface. For cold, hot, wet or freezing weather, it is important to ensure that all bases are covered and that you are prepared for the problems that can arise.
How We Can Help With Your Lab Flooring Solution
We are one of the most trusted providers of high-quality resin flooring installations, with over 30 years of experience delivering outstanding results for a range of industrial clients.
We offer epoxy resin, polyurethane resin, and acrylic resin. Polyurethane resin has a heightened malleability, meaning it can handle the fluctuating extremes of temperature which may be a commonality in an industrial lab.
Acrylic resin is the ideal solution for a lab that needs as little downtime as possible for its flooring installation. Depending on the size of the project, this resin lab flooring can be rendered fully usable within one weekend, minimising disruption to your operations.
All You Need to Know About Poured Concrete Floor
Whether you are looking to pour a concrete driveway, pour concrete on top of existing concrete or just pour concrete for a small project, it is always important to consider professional assistance to achieve a successful outcome.
With 40 years of experience in our trade, Concrete Flooring Solutions are the UK’s leading specialist in both concrete and resin flooring for industrial, commercial and domestic customers.
If you are looking for professional concrete flooring installations, we will be more than happy to help. Whether you are looking for poured concrete, resin flooring, composite metal decking or more, we will provide you with durable and beautifully finished flooring for any location.
Get in touch with a member of our team today to learn more about the services we offer, or to receive a free quote for your flooring project.
