A Simple 7 Step Guide to Laying Perfect Concrete Slabs
If this is your first time laying concrete slabs, the task at hand may seem slightly daunting. However, the team at Concrete Flooring Solutions have drawn up a 7-step guide to help both novice and DIY carpenters and tradesmen professionals lay concrete slabs with ease.
As you are probably aware, laying any type of concrete is a task that requires patience, diligence and care. One wrong step can end up ruining your project and even costing you a small fortune.
Our guide aims to take you through every step of laying concrete slabs, from understanding how to make concrete, effective pouring techniques and the tools to help you finalise your project for a durable, long-lasting result.
Remember to Work Safe
Working with concrete is no easy feat; you have to have some experience under your belt, and you will need at least one other person to help you with the labour. Concrete floor construction is an extremely labour-intensive job and requires patience and dedication to achieve optimal results.
Here is our list of suggested safety equipment to wear when working with concrete:
- Eye protection (goggles)
- Clothing that covers the arms and legs to avoid concrete splashes
- Rubber boots if you have to wade through concrete
- Gloves, as your hands will be exposed to concrete
Tools required:
- Circular saw
- Hammer
- Level
- Pry bar
- Safety glasses
- Tape measure
Materials:
- ½” dia. rebar
- 6-mil plastic
- Anchor bolts
- Concrete
- Duplex nails
- Forming lumber
- Packable fill
- Tie wire
Additionally:
- Some experience in DIY is hugely advantageous
- If possible, find someone with experience to help you throughout your project
It’s also advised that you start paving something small, like a garden patio before you tackle larger projects such as driveways.
The bulk of the work for a new DIY concrete slab is in the excavation and form building. If you have to level a sloped site or bring in a lot of fill, hire an excavator for a day to help prepare the site. Then figure on spending a day building the forms and another pouring the slab.
How Much Does a Cement Slab Cost?
Well, this depends on several factors, such as the type of concrete you’re using, how big the area is and whether or not you’re going to be hiring an excavator. You can expect to pay anywhere between £1,000 to £2,000 for a concrete contractor to pour a 16 x 20 ft slab; but again, this depends on many factors, including the concrete company’s pricing structure (labour, tools etc).
Undertaking the concrete slab task yourself can save you a small fortune, but it’s also comforting to know that our team is on-hand to help with any commercial project, should you require it.

Step 1: Preparation
The first step to layng any form of concrete is ensuring the site is prepared. In some cases, you may require a permit to build your patio, this is something you can speak to your local building department about. It’s also worth finding out whether or not you have any pipes or water mains running underneath the site you aim to concrete. You can do this by using radio detection equipment.
You will need to measure from the lot line to accurately position the slab parallel to it. Next, position four stakes to the corners of the slab, this will help you remember where the slab will be placed. Once the location of the slab has been marked, you need to use a line level and some string to analyse how much or little the ground slopes. This is essential for ensuring a level base for laying your slabs, an unlevel base will lead to the concrete slabs cracking, moving out of place and generally losing their structural integrity.
In order to level the soil, you can either dig into the higher side of the slope, adding a retaining wall to hold the soil in place, or move the soil into the lower end, it’s entirely up to you and what you feel most comfortable doing.
Knowing Your Soils
if you are building on sandy soil, this is good news, as sandy soil does not generally have an increased risk of cracking as a result of fluctuating water content in the surrounding ground.
For clay or loam soil, you will need to make room for approximately 6-8 inches of compacted gravel to be inserted underneath your concrete. For land with over a few inches of dirt, you can hire an excavator to rid any excess soil.
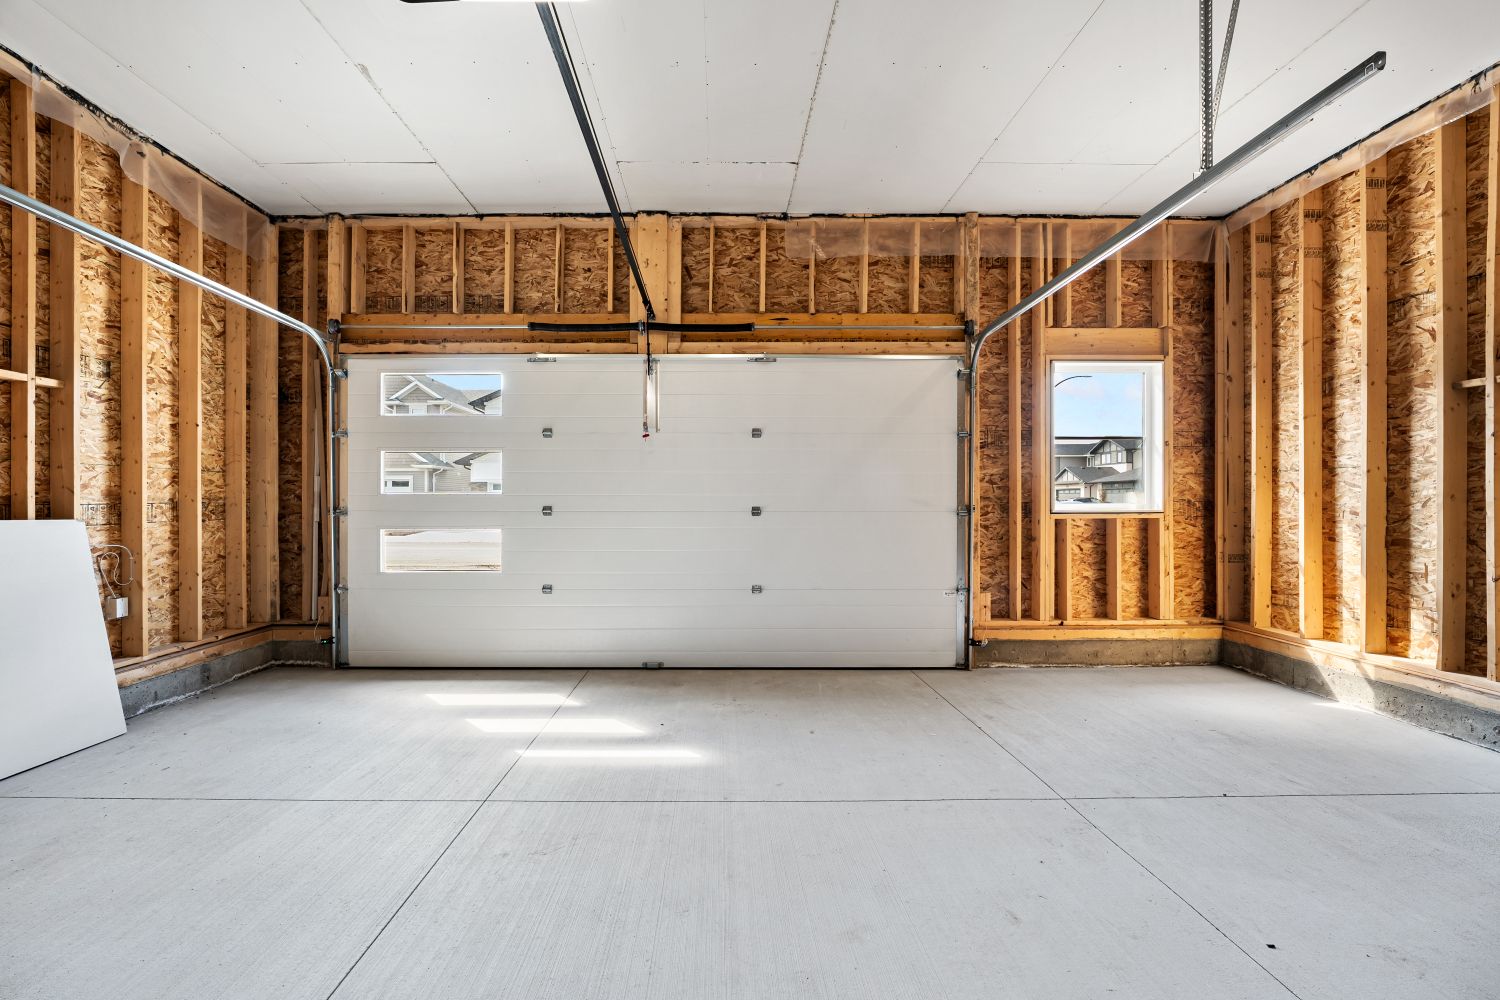
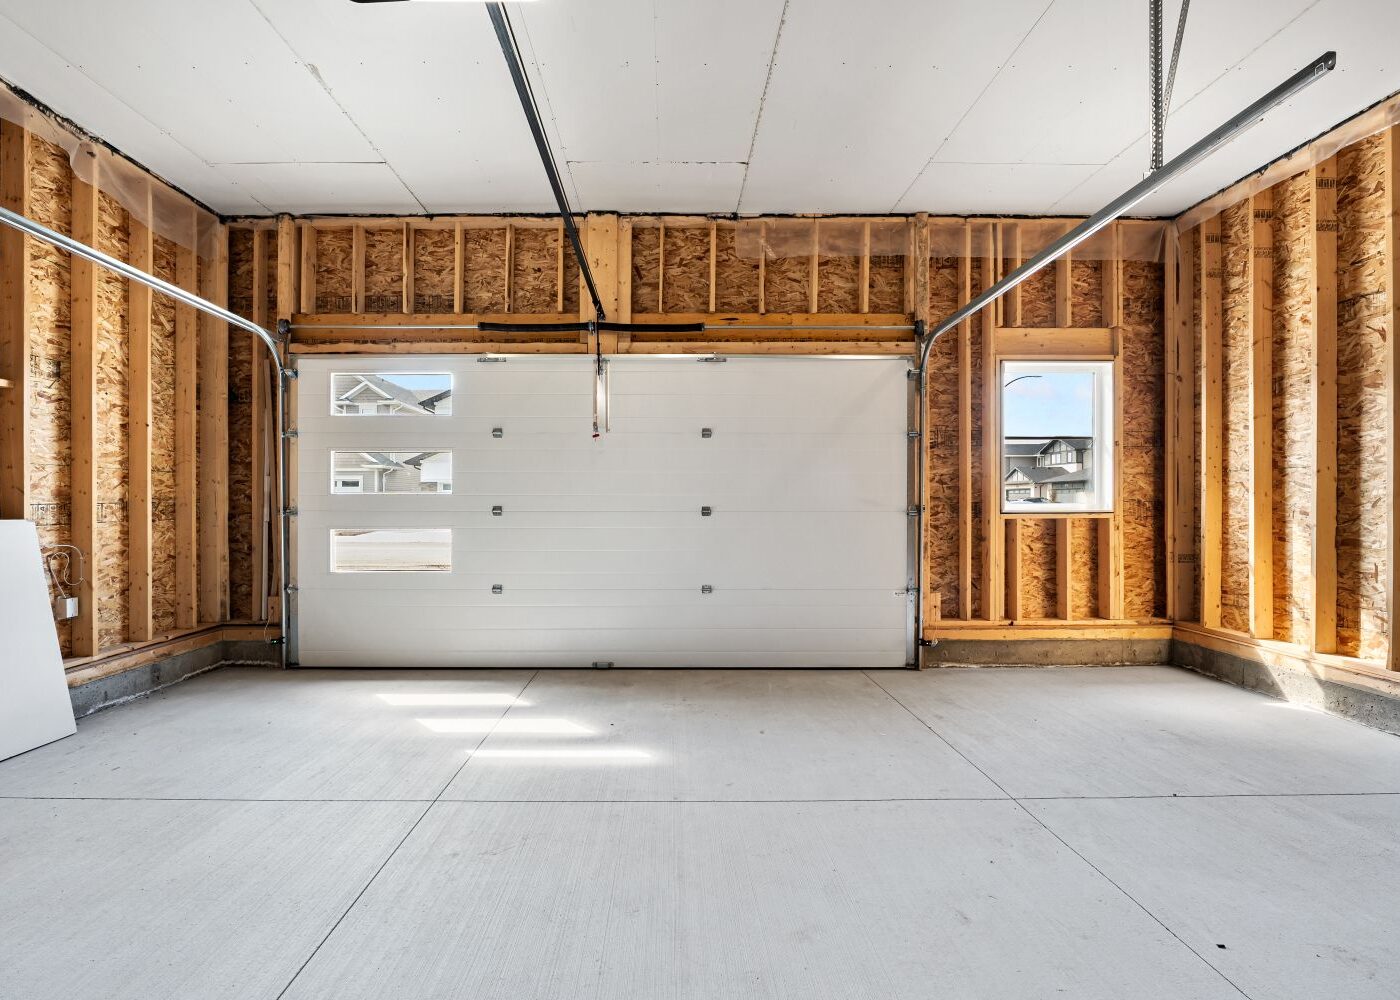
Step 2: Building a Strong, Level Foundations to Install Concrete Slabs
Once you have prepared the site, the next step is choosing boards. We have labeled some examples below regarding what boards work best in certain areas:
- Garages and sheds – 2 x 12 boards with five inch thick slabs
- Driveways (without thickened edges) – 2 x 6 boards
If you find that the boards are not long enough for the job you’re undertaking, you can merge the boards together. This is done by using a cleat over the joint and making sure everything is aligned and flush before applying the cleat to the joint.
To do this, cut the side boards 3 inches longer than the length of the slab and then cut the end boards to match the width of the slab. This is where the 17 double headed nails come to use; use these to connect the form boards and attach the bracing. Finally, use a hammer to drive the stakes into the forms.
Be warned: ensure that you employ extra strong bracing to ensure that when the concrete is poured, it doesn’t push the boards out of place. This will result in your slab(s) having a curved edge and this is extremely difficult to fix. To be sure that this doesn’t happen, place 2 x 4 steaks and 2 x 4 kickers every 2ft along the board to provide additional support. Kickers basically help the steaks from bending outwards (which can lead to curved slabs).
Setting the Boards
You will need a mason’s line (essentially strong string) to stretch along the top edge of the form board. Be sure to double-check that the braces line up with the string. Next, adjust the braces to ensure the form boards remain straight and then cut stakes so that the top of the stakes will be just below the top of the forms.
Then, take the kickers and drive them into the ground at an angle, nailing the top of the kickers to the stakes. For soil that is sandy or loose, you will need to cut and square off the kickers and punch a small, thin stake to hold the kicker in position.
Once they are in place, place the third form board next to the first one. Wait until you’ve hauled and tamped the fill before placing the fourth side.
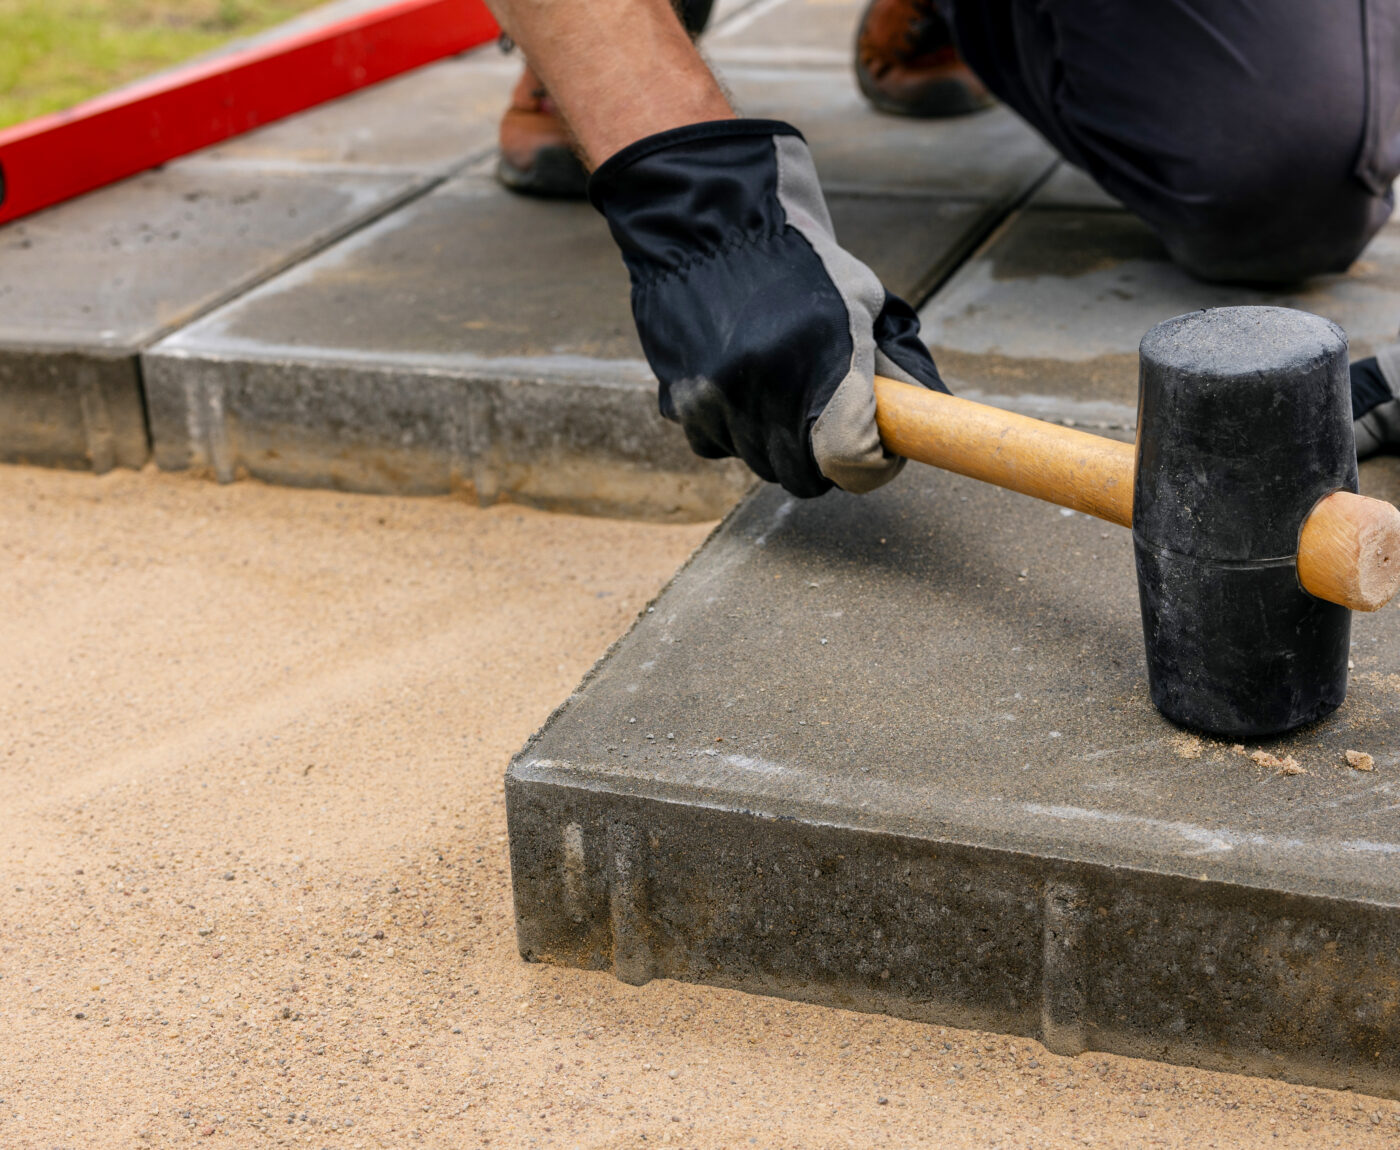
To Help with Levelling: for perfect levelling of the form boards, leave one of them a bit higher when you hammer it to the stake. This means that you can adjust the level by gently tapping the stake (with a hammer) into place until you reach the desired level.
Step 3: Build up the base and pack it
For a strong foundation, you will need to ensure the base is able to drain effectively. Water that is not absorbed can lead to cracks and movement within the concrete slabs, and this can cost time and money to rectify. If you have sandy soil, this means you will not have to add a layer of gravel due to the sand’s absorbing properties. Those without sanded soil will need to add gravel.
Now that your forms are in place, you can take an accurate estimate as to how much fill you will require. This can be done by measuring the height of the forms from the top to the ground using some string. You will need to do this roughly four times to receive an average fill estimate. The depth will be used to find out how many cubic yards is required for the right amount of fill.
You can use crushed concrete as your fill, as this has good absorption properties and, above all else, drains well.
Spreading the fill: When spreading the fill, ensure that it does not exceed 3 inches of thickness and tamp all layers with a plate compactor (these can be rented). You will need to leave a 12-inch deep and 12-inch wide trench to allow for the thickened edge.
Step 4: Reinforcing the Slabs With Steel Bars
Most, if not all, concrete jobs require reinforcement to alleviate the threat of cracks and generally make the site stronger and more durable. At Concrete Flooring Solutions, we use composite metal decking to line our commercial jobs. In fact, composite metal decking is now the most commonly used reinforcement structure in almost all commercial buildings. However, for smaller domestic jobs, you can use steel reinforced bars to reinforce your slabs.
We’d recommend that you hire a professional concrete contractor to lay the reinforcement, as this is a very labour-intensive task and requires trade experience. You can, however, supply the bars, which can be bought at almost any home centre (such as B&Q, Wickes, etc.). You will also need tie wires and a wire twisting tool to connect the bars; this is something your contractor can do if needs be.
Cutting the Bars
Should you choose to cut the bars, you will need a metal-cutting blade or something similar to accurately cut the bars into their desired size and shape. You will then need to bend the bars to fit the perimeter. This is done by merging the bars together (you can overlap them by about 6 – 10 inches) and securing them with wire around their join/overlap. For extra support, you can wire the bars to the stakes.
Next, cut and lay out the pieces in a 4ft centre grid formation, wiring the intersections together so that when you pull the grid up onto the centre of the concrete, you pour the slab onto it.
Consider the Weather
Concrete dries faster in hotter weather, so if you’re pouring in hot weather, you might be better off dividing the slab down the middle and then filling the halves on seperate days. This means that you’re spreading your workload over a few days, focusing on one slab at a time. Remember to remove the diver before you start pouring the second half.
Step 5: Preparing for the Concrete Truck
In most cases, you will need a concrete truck to pour the concrete into its desired positioning. It is absolutely essential that everything is prepped and ready for when the truck arrives to not delay pouring.
This is where the preparation pays dividends, if you have prepared properly, your concrete forms should be square, level and able to withstand the concrete being poured in. If you’re working on large slabs, be sure there is room for the truck to effectively pull up and pour the concrete into its desired position. Do this on days where it is not too hot or cold to avoid fast hardening and thawing on colder days.
A simple way to calculate the volume of concrete needed is to follow this simple formula:
- Length x width x depth (feet) = cubic feet
To find out the amount of concrete required in yards, divide the total by 27 and then add 5% to calculate the number of yards. It’s important to contact your chosen ready mix company at least a day beforehand to explain what you need and the type of project you’re undergoing.
This is a really important part of the process, as the contractor you call will give helpful advice that will really speed up the project. Feel free to ask them any questions about your project for some expert advice.
Step 6: Pouring the Concrete
When the truck arrives, be sure to pour the concrete into the furthest forms so it has time to set and you don’t have to move the truck back and forth. You can pour the concrete into a wheelbarrow for easy transportation. Just make sure you pour it quickly so the consistency doesn’t falter or worse, set.
When pouring the concrete, try and place it in its final spot and soften and smooth it using a square-headed shovel (not a round one as this will leave curved marks on the surface). Be sure to lift the rebar when positioning it in the middle of the concrete slab as you work. Once the concrete has been replaced in the forms, start smoothing it off with a screed board. This is made easier with another person gently pushing the concrete in front of the screeboard to ensure that all the concrete is being used and smoothed into position. Don’t be afraid to make several passes with the screed board, you don’t have to be moving huge volumes of concrete at a time, easy does it!
Next, use a bull float after you’re done screeding. Bull floats are ideal for smoothing out and eliminating any marks left from the screeder. It also helps to fill in missed gaps and generally create a flat, smooth finish. Be careful not to create low spots (areas of the concrete that dip out of the correct levelling) as this will impact its structure and level. Pass the bull float over the surface about three or four times, too much and you will begin drawing water to the surface which will impact its structural integrity.
Step 7: Applying a Smooth Finish
After you have finished the bull floating the concrete, water will rise to the surface. This is completely normal and it’s important you allow the concrete to “bleed” at this point, as this is part of the hardening process. Once it has hardened, you can resume finishing it with a hand-float. A good way to test if the concrete is ready for hand-floating is by pressing your thumb into a corner of it to ensure no print is left behind.
Only when the concrete can support your full weight can you begin to start grooving it. Do not kneel directly onto the concrete, instead, use a kneeling board to distribute your weight across the surface. Grooving is important because it positions the inevitable shrinkage cracking to take place in that groove. If the groove wasn’t made, the crack would appear in a random spot that you would otherwise not be prepared to smooth over. Where you cut the grooves depends on how big your project/slabs are, but as a general rule, cut in a groove for every 10ft of slab.
Next, use a float to iron out any imperfections left by edging and the bumps from the bull float. To get a truly smoother and denser finish, you can follow the float with trowelling. What this does is smooth out literally every imperfection and is usually performed in larger commercial jobs, such as concreting a warehouse or retail space. Trowelling should be handled by a professional in case you end up gouging the surface.
Trowelling follows floating to provide a direct finished wearing surface. When carried out correctly on concrete of the appropriate class, trowelling leaves a smooth, very dense surface. It is produced for warehouses and similar large slab areas, but can also be a finish to small slabs.
The Curing Process
It’s important that once you have finished trolling, you keep the area moist to ensure it cures properly and attains its maximum strength. You can do this by spraying a curing compound on the concrete, and this product can be bought at any home store (B&Q and Wickes, for example). Curing takes approximately 24 hours to properly harden before you can walk on it, and 28 days for it to reach its maximum strength.
And there we have it!
Undertaking a Larger Project?
At Concrete Flooring Solutions, we prioritise large-scale commercial projects, so if you’re looking for a trusted contractor with over 40 years’ experience in the concrete and resin flooring industry, we can help. From multi-storey car parks to lining new retail stores with stunning polished concrete, we have the experience and technology to transform your property at a fast and affordable rate.
We operate across the UK and specialise in polished, industrial concrete flooring and composite metal decking.
Whatever the job, our team has you covered. Contact us to discuss your flooring needs and receive a quote for your project.